About a 6-minute read
You can use Gemini to make a room preview from a photo and the furniture you've selected. Give it the room, the pieces, and clear directions about what stays. Then compare the image with your sources before you put it in a client presentation.
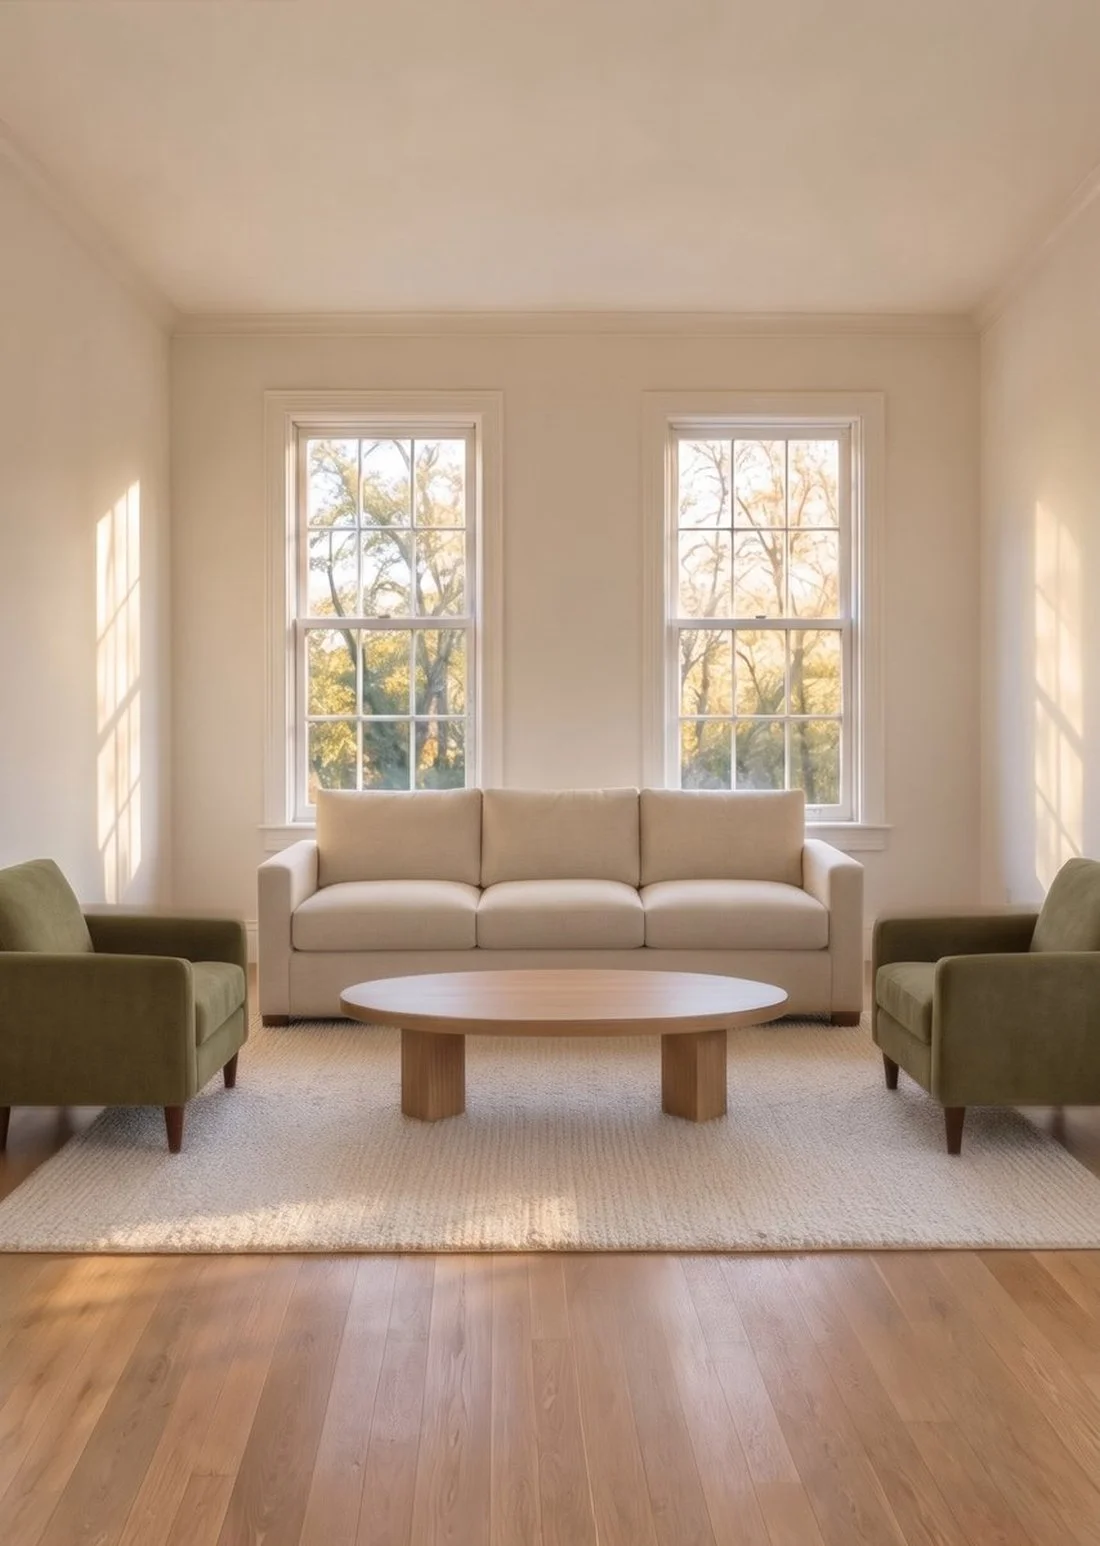
For this test, we uploaded an empty sample room and a board with a cream sofa, two olive chairs, an oak table, and an ivory rug. One prompt produced the finished preview below. The windows stayed recognizable, and every selected piece appeared. Some furniture details changed.
The room and furniture are fictional practice samples. Compare the two inputs with the actual first result below.
In this post
- Before: the sample room
- Products: furniture and finishes
- After: the first room preview
- Start with the room and the pieces you've chosen
- Upload both references in Gemini
- Tell Gemini what stays and what changes
- Review the first result before making changes
- Keep the product board and measured plan in the presentation
- Get the free Client Room Design Kit
- Questions about Gemini room previews
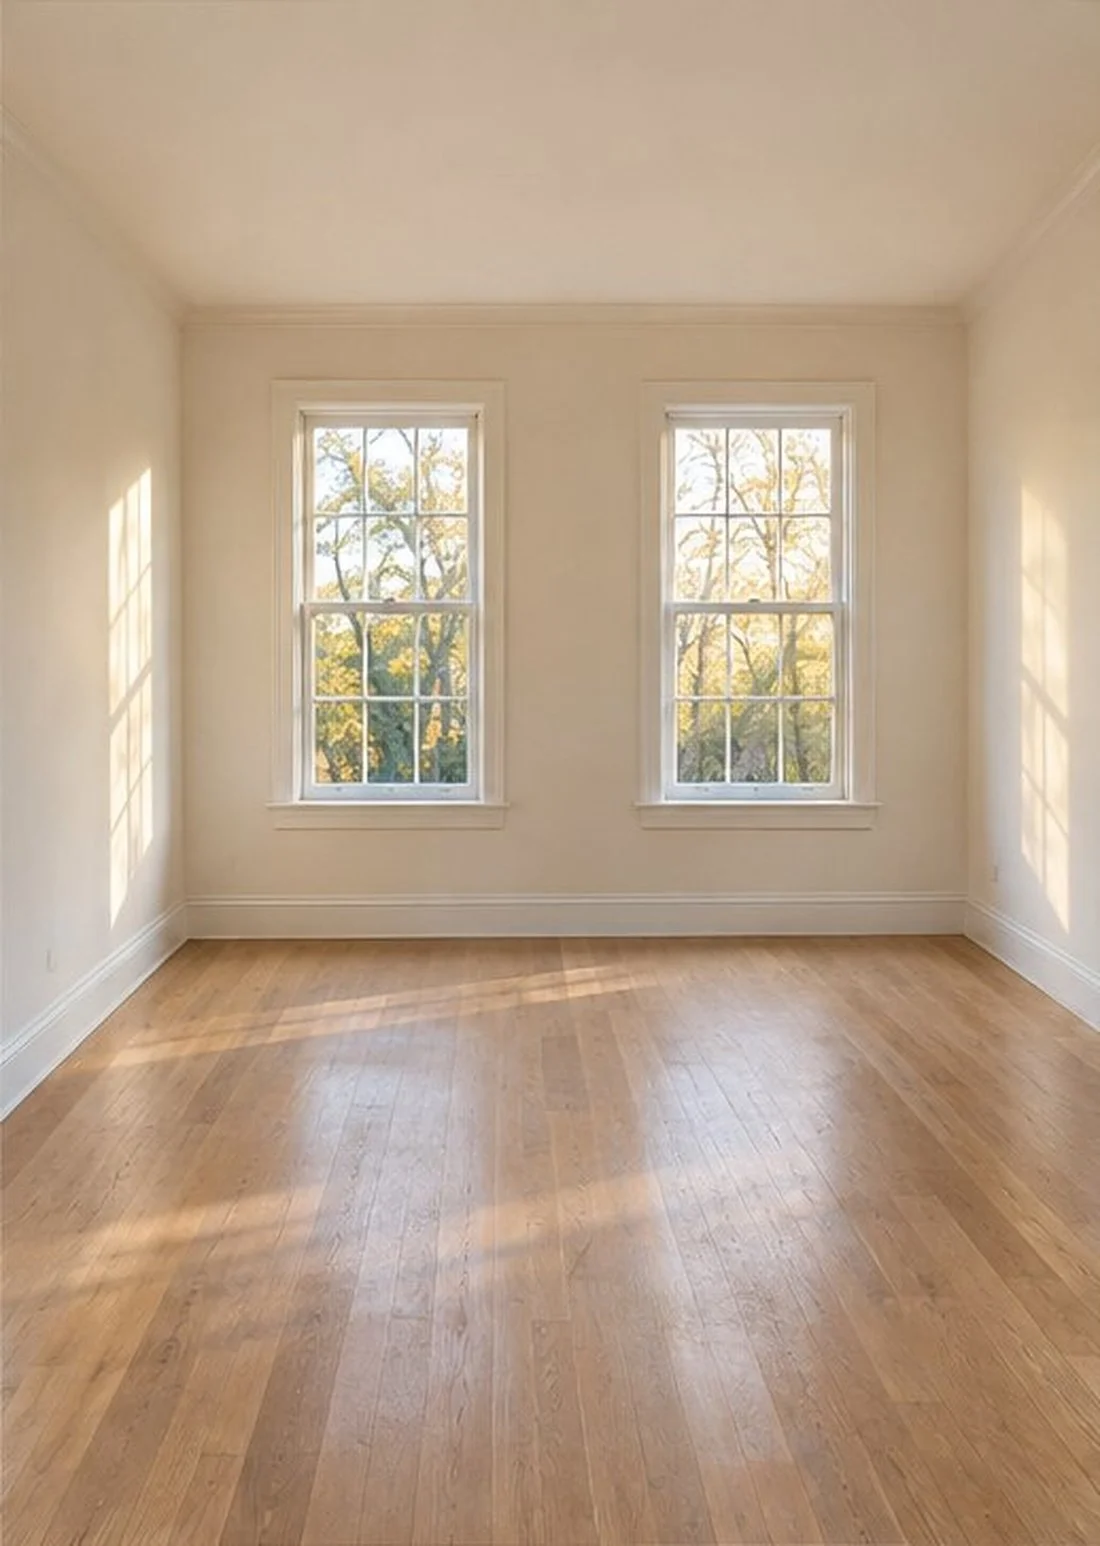
Before: the sample room
This is the starting room. Compare the two windows, wall positions, trim, and oak floor.
After: the first room preview
This is the first result. Compare the two windows, wall positions, trim, and oak floor.
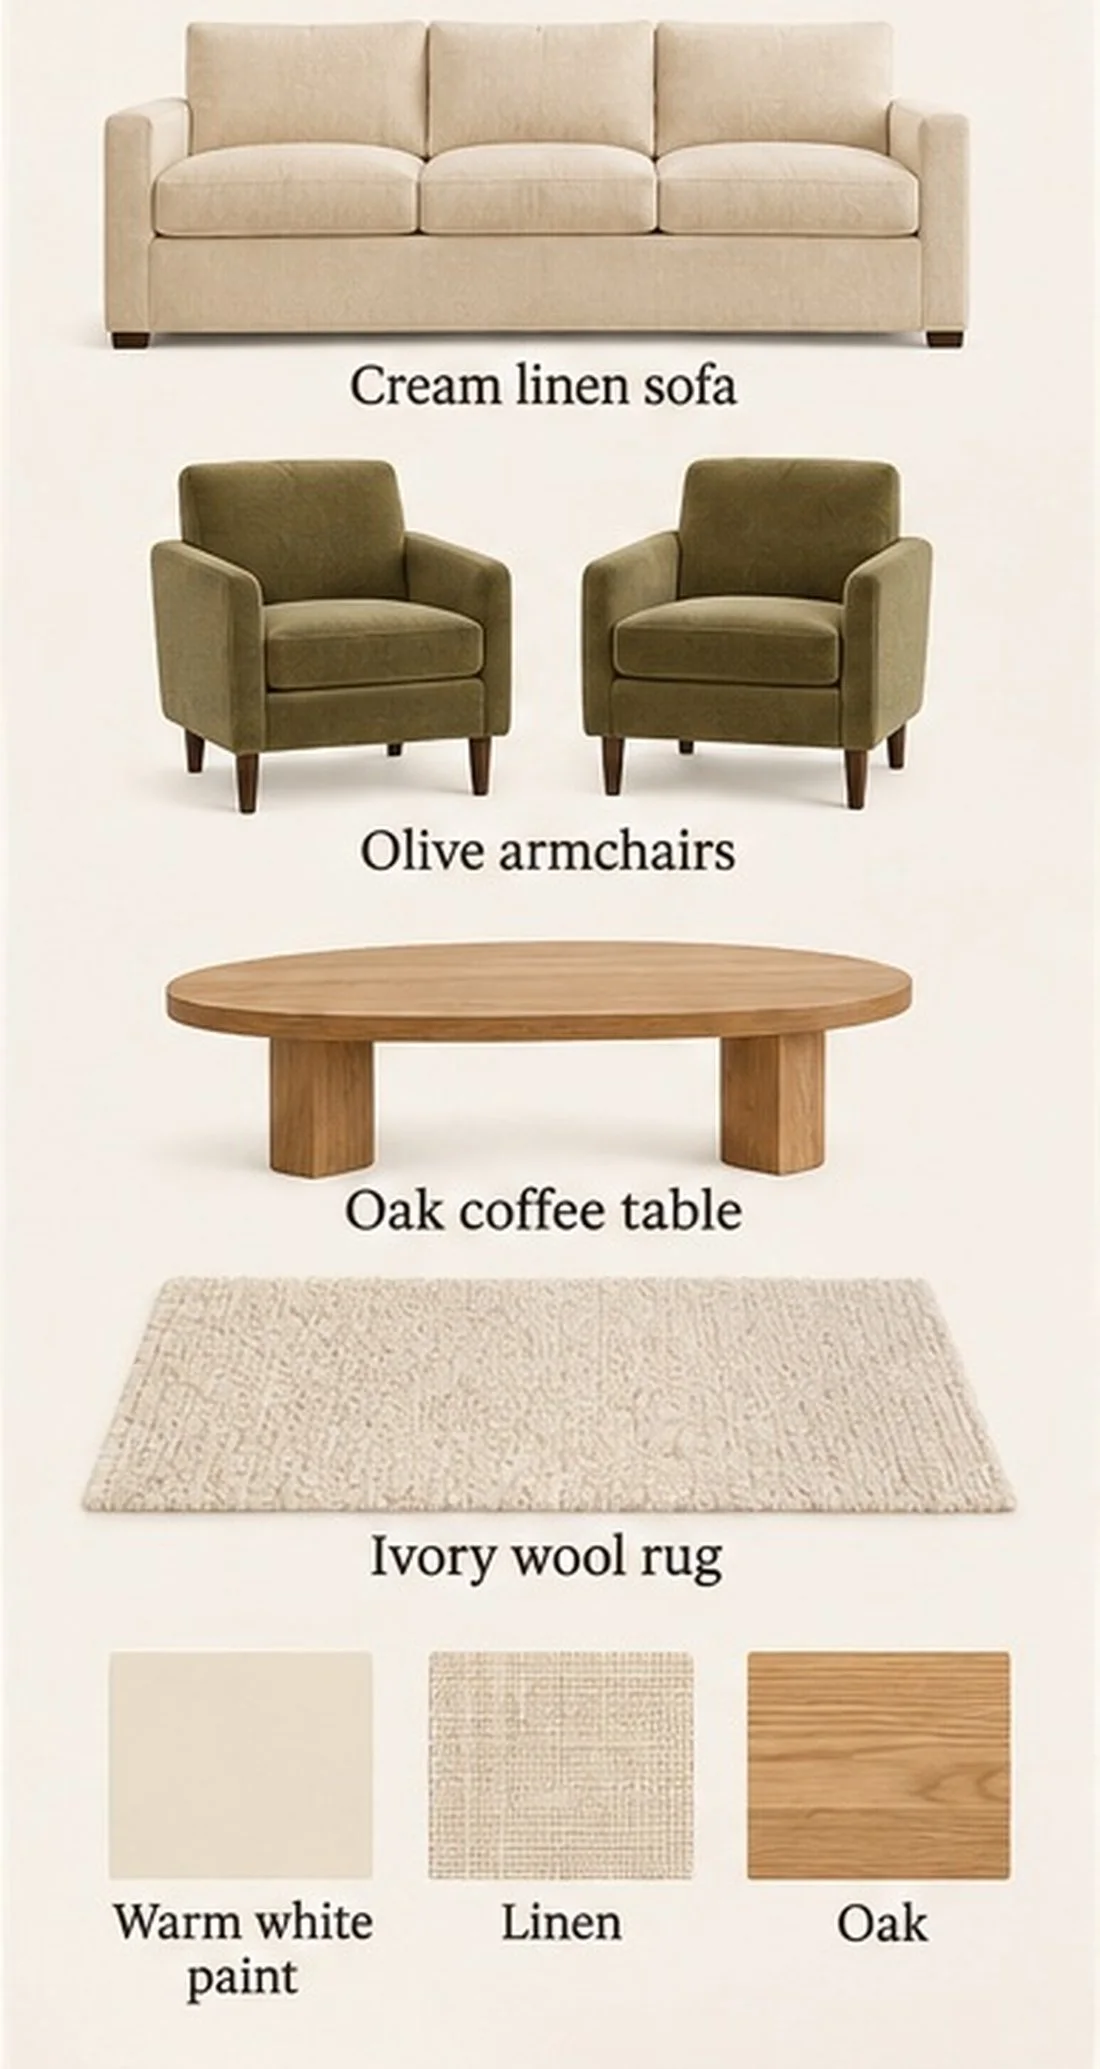
Products: furniture and finishes
This is the selection board we uploaded with the room. It shows the cream sofa, two olive chairs, oak coffee table, ivory rug, and finish choices.
Start with the room and the pieces you've chosen
A room photo and a furniture board give Gemini two different jobs. The room shows the space to preserve. The board shows what to add.
For your own project, gather a clear room photo, product images, product sizes, and finish names. Keep your measured plan beside those files. Write down the fixed features, such as windows, doors, flooring, trim, and built-ins.
Then name the changes. You might keep the floor and windows, replace the seating, add a rug, and change the wall color. Make those choices before you ask for the preview so the image reflects your design direction.
For this sample, the selected furniture sits on one labeled board. The free kit includes that board and the empty room image as separate files.
Upload both references in Gemini
Open Gemini and start a new chat. Upload the room photo first, then the furniture and finish board. Check both attachments before you send the prompt.
In our desktop test, the controls were Upload & tools, Upload files, and Create image. Your layout may differ. Google's image generation and editing guide explains how to work with uploaded images. Choose an image option that accepts more than one reference.
The completed room preview was not one of our uploads. Gemini received only the empty room and the selection board. That lets us see what it does with the sources a designer would supply.
Tell Gemini what stays and what changes
The tested prompt starts by naming the role of each image:
Image 1 is the room to preserve. Keep its exact camera angle, vertical crop, two windows, wall positions, ceiling height, trim and oak floor. Keep the warm white walls. Do not enlarge or reshape the room.
It then names the selected pieces and their placement. The sofa goes under the windows. The two chairs face inward at the sides. The coffee table sits on the rug between the seating.
The rest of the prompt asks for the supplied shapes, colors, and materials. It also asks Gemini to keep the window light and add no extra pieces.
Those instructions give you details to check when the result arrives. If the window moves or the chair legs change, you can compare that detail with the source rather than judging the room from its overall look.
The free kit includes the full prompt exactly as tested, with its photo-style directions. It also includes a text file so you can copy the words into Gemini.
Review the first result before making changes
Save the first image. In Gemini, hover over the result and choose Download full size. Keep that file with the two inputs and your prompt.
In the November 16, 2026 test, the image included one sofa, two chairs, one table, and one rug. The cream, olive, oak, and ivory colors followed the selection board. The two-window layout, trim, walls, and floor remained recognizable.
The product review needed a closer look. The sofa cushion shapes differed from the board. The table supports looked rounder. Both chairs extended beyond the side edges, so their full shapes were hidden.
That gives the designer a clear review list: cushion shape, table supports, and chair framing. Keep those notes with the result. If you make another attempt, return to the original room and selection images and add the specific correction to your brief.
This test covers one room, one prompt, and one generation. It does not tell us how well the same design will hold across several views. Your first result may also differ from this one.
Keep the product board and measured plan in the presentation
The preview can help a client see the proposed look. The product board names the actual pieces and finishes. The measured plan checks the layout.
Put those together when you review the design. Check the sofa width, chair depth, table size, rug size, and walking space against the real product specs. Review paint and fabric with the actual samples.
We supplied no room or furniture measurements in this test. A believable-looking space does not confirm that the selections fit. If a generated detail differs, name it before the client uses the image to make a choice.
The same review habit applies when you make other business visuals. Our guide to planning an accurate product demonstration explains how to keep the shown result tied to the source facts.
Get the free Client Room Design Kit
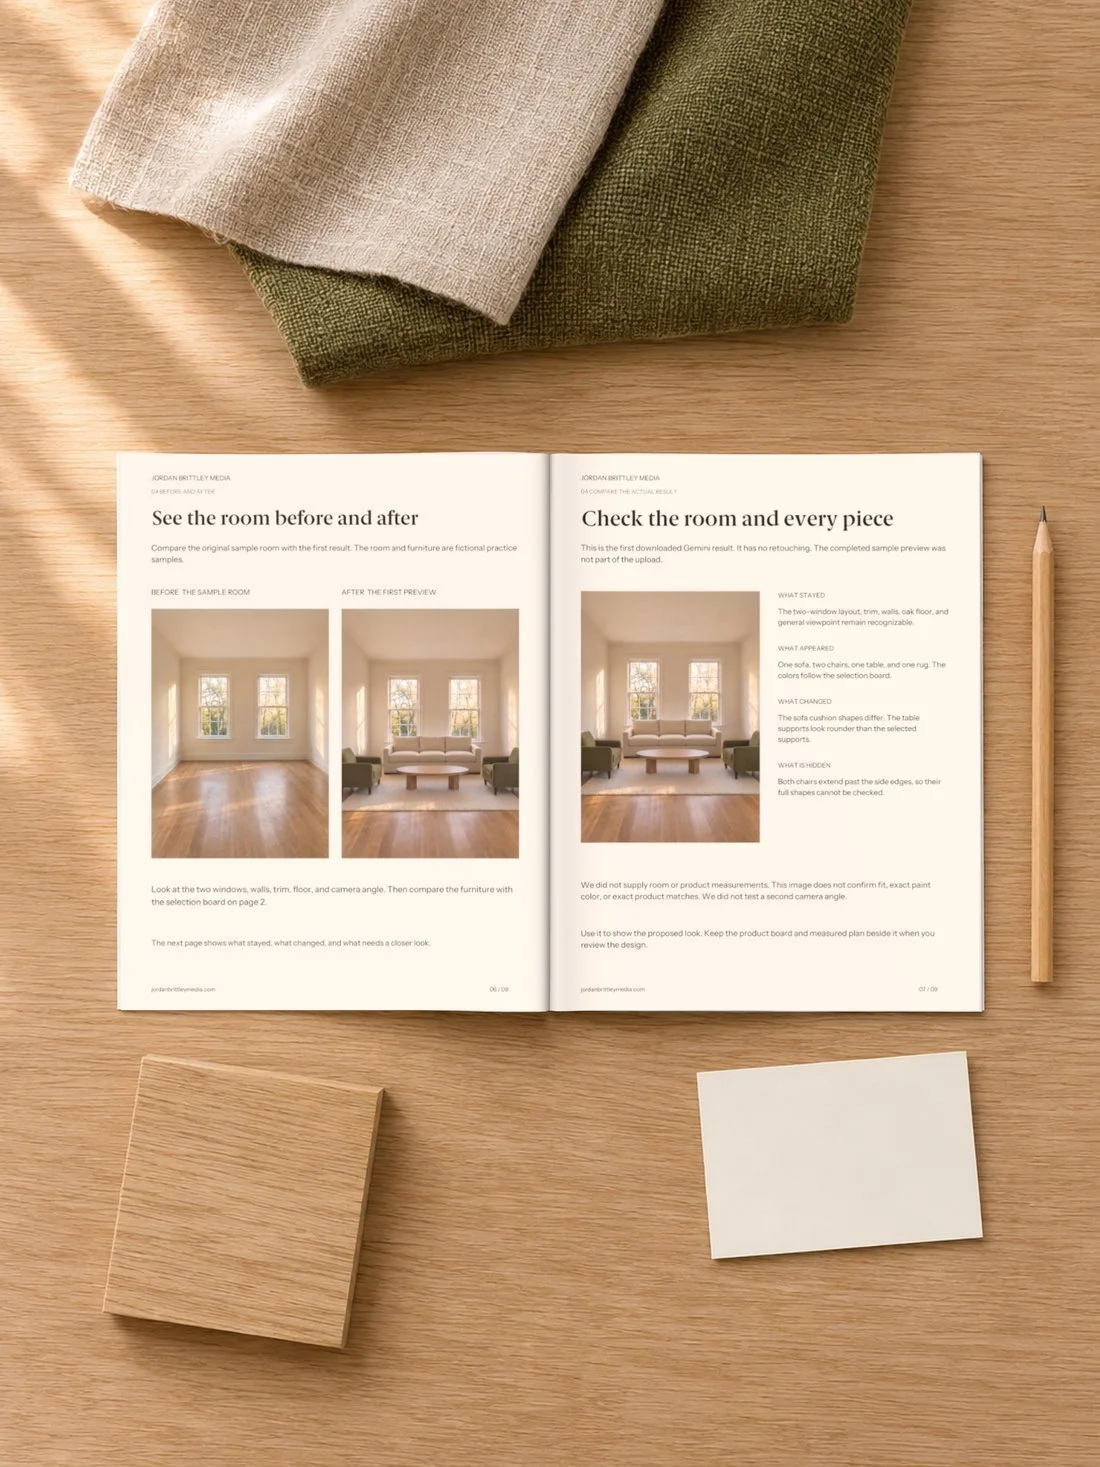
Try the same room and furniture before using this process on a client project. The free kit includes:
- A nine-page PDF guide with the steps and review checklist.
- The empty room image and furniture selection board.
- The exact tested prompt in a copyable text file.
- The unretouched first Gemini result for comparison.
Download the free Client Room Design Kit
The kit is free. Gemini access and image limits depend on your account. Save your first result, then compare its room details and furniture with the source files.
Questions about Gemini room previews
Does this create an editable 3D room?
This process creates a flat image. Use your measured design files for dimensions, layout changes, and work that needs an editable 3D model.
Can it match the exact furniture I selected?
Reference images can guide the result. In our test, some cushion and table details changed. Compare each piece with its actual product image before showing the preview to a client.
Do I need to use a real client's room to practice?
Use the fictional sample files in the kit for your first attempt. They give you the same two inputs used in this test.
